Backpacking Trip to Colorado’s Most Famous Hot Springs
For those seeking adventure, backpacking through Colorado’s beautiful Maroon Bells-Snowmass Wilderness is an absolute must! The following post features photos and tips on hiking this particular trail as well as a packing/shopping list of all the gear you’ll need.

We enjoyed a long, long soak in the springs after we finally arrived! Despite the new reservation system that’s in place, the hot springs were still somewhat crowded. Be prepared to chat with and meet some new friends!
One of the most popular hot springs in Colorado, Conundrum Hot Springs is an 18 mile down and back hike with a heart pumping 2,400-foot elevation gain. This hike takes you through aspen groves and past rivers, waterfalls, and seasonal vibrant wildflowers. While technically doable as a day hike, many choose to backpack and camp at one of the twenty campsites in the area. Permits for overnight camping are highly competitive, which is why I felt extremely lucky to meet some new friends who happened to have an extra spot.

Nothing made me happier than finally dropping off our gear at the campsite and then hiking up to see this sign. This was my first time hiking to a natural hot spring in the mountains and I couldn’t wait to check it out!
Let’s get ready to backpack!
This was my first backpacking experience and therefore required some major preparations despite our short, one-night stay. First to consider was the weather. Regardless of the season, temperatures can drop substantially on Colorado nights at 11,200 feet so layers of warm clothes were a must. Also, this area is subject to lots of wildlife. Bear canisters are required for storing any food or scented items, and solid human waste must be packed out or buried.

What kind of gear will you need?
One of the things that boggles the mind about backpacking — at least for a newcomer like myself — is that you carry literally everything you need to live, on your back. Your shelter, food, clothes, cookware, everything. There’s something empowering about being self-sufficient in the wilderness, but I also love taking note of how little I truly require to sustain myself. Even after one night, I come home feeling overwhelmed by the excess of “stuff” that I think I “need.”
All that being said, yes, you do need a decent bit of equipment for a backpacking trip and it can be quite the initial sticker shock — at least with things like a quality pack, sleeping bag and tent. However, once you have the major essentials it is a very budget-friendly hobby.
Below is a list of what I brought along with some insights and links so that you can hit the ground running on your next (maybe even your first) backpacking trip:
Basic Essentials
Backpacking Pack — obviously the most key item for the task at hand. If you don’t have a backpacking pack yet, go somewhere to get fitted — do NOT just buy it online, and do NOT just wear a regular backpack. These packs are designed to distribute the weight of your supplies so that you can hike for miles without hurting yourself.
I went to REI and they had me try on multiple packs and walk around the store with them, carrying weights and testing how the pack felt with the weight distributed. They were quite thorough!
Ultimately, the Osprey pack came highly recommended by one of my experienced Colorado backpacking friends. You can probably get away with a smaller size for just one night, but mine was the 65L and I thought it fit everything really well.
Rain Cover — to keep your pack dry, because rain can be super unpredictable in this region.
Hydration Pack — the 3L was absolutely necessary on this hike and this one fits nicely in the Osprey pack I mention above.
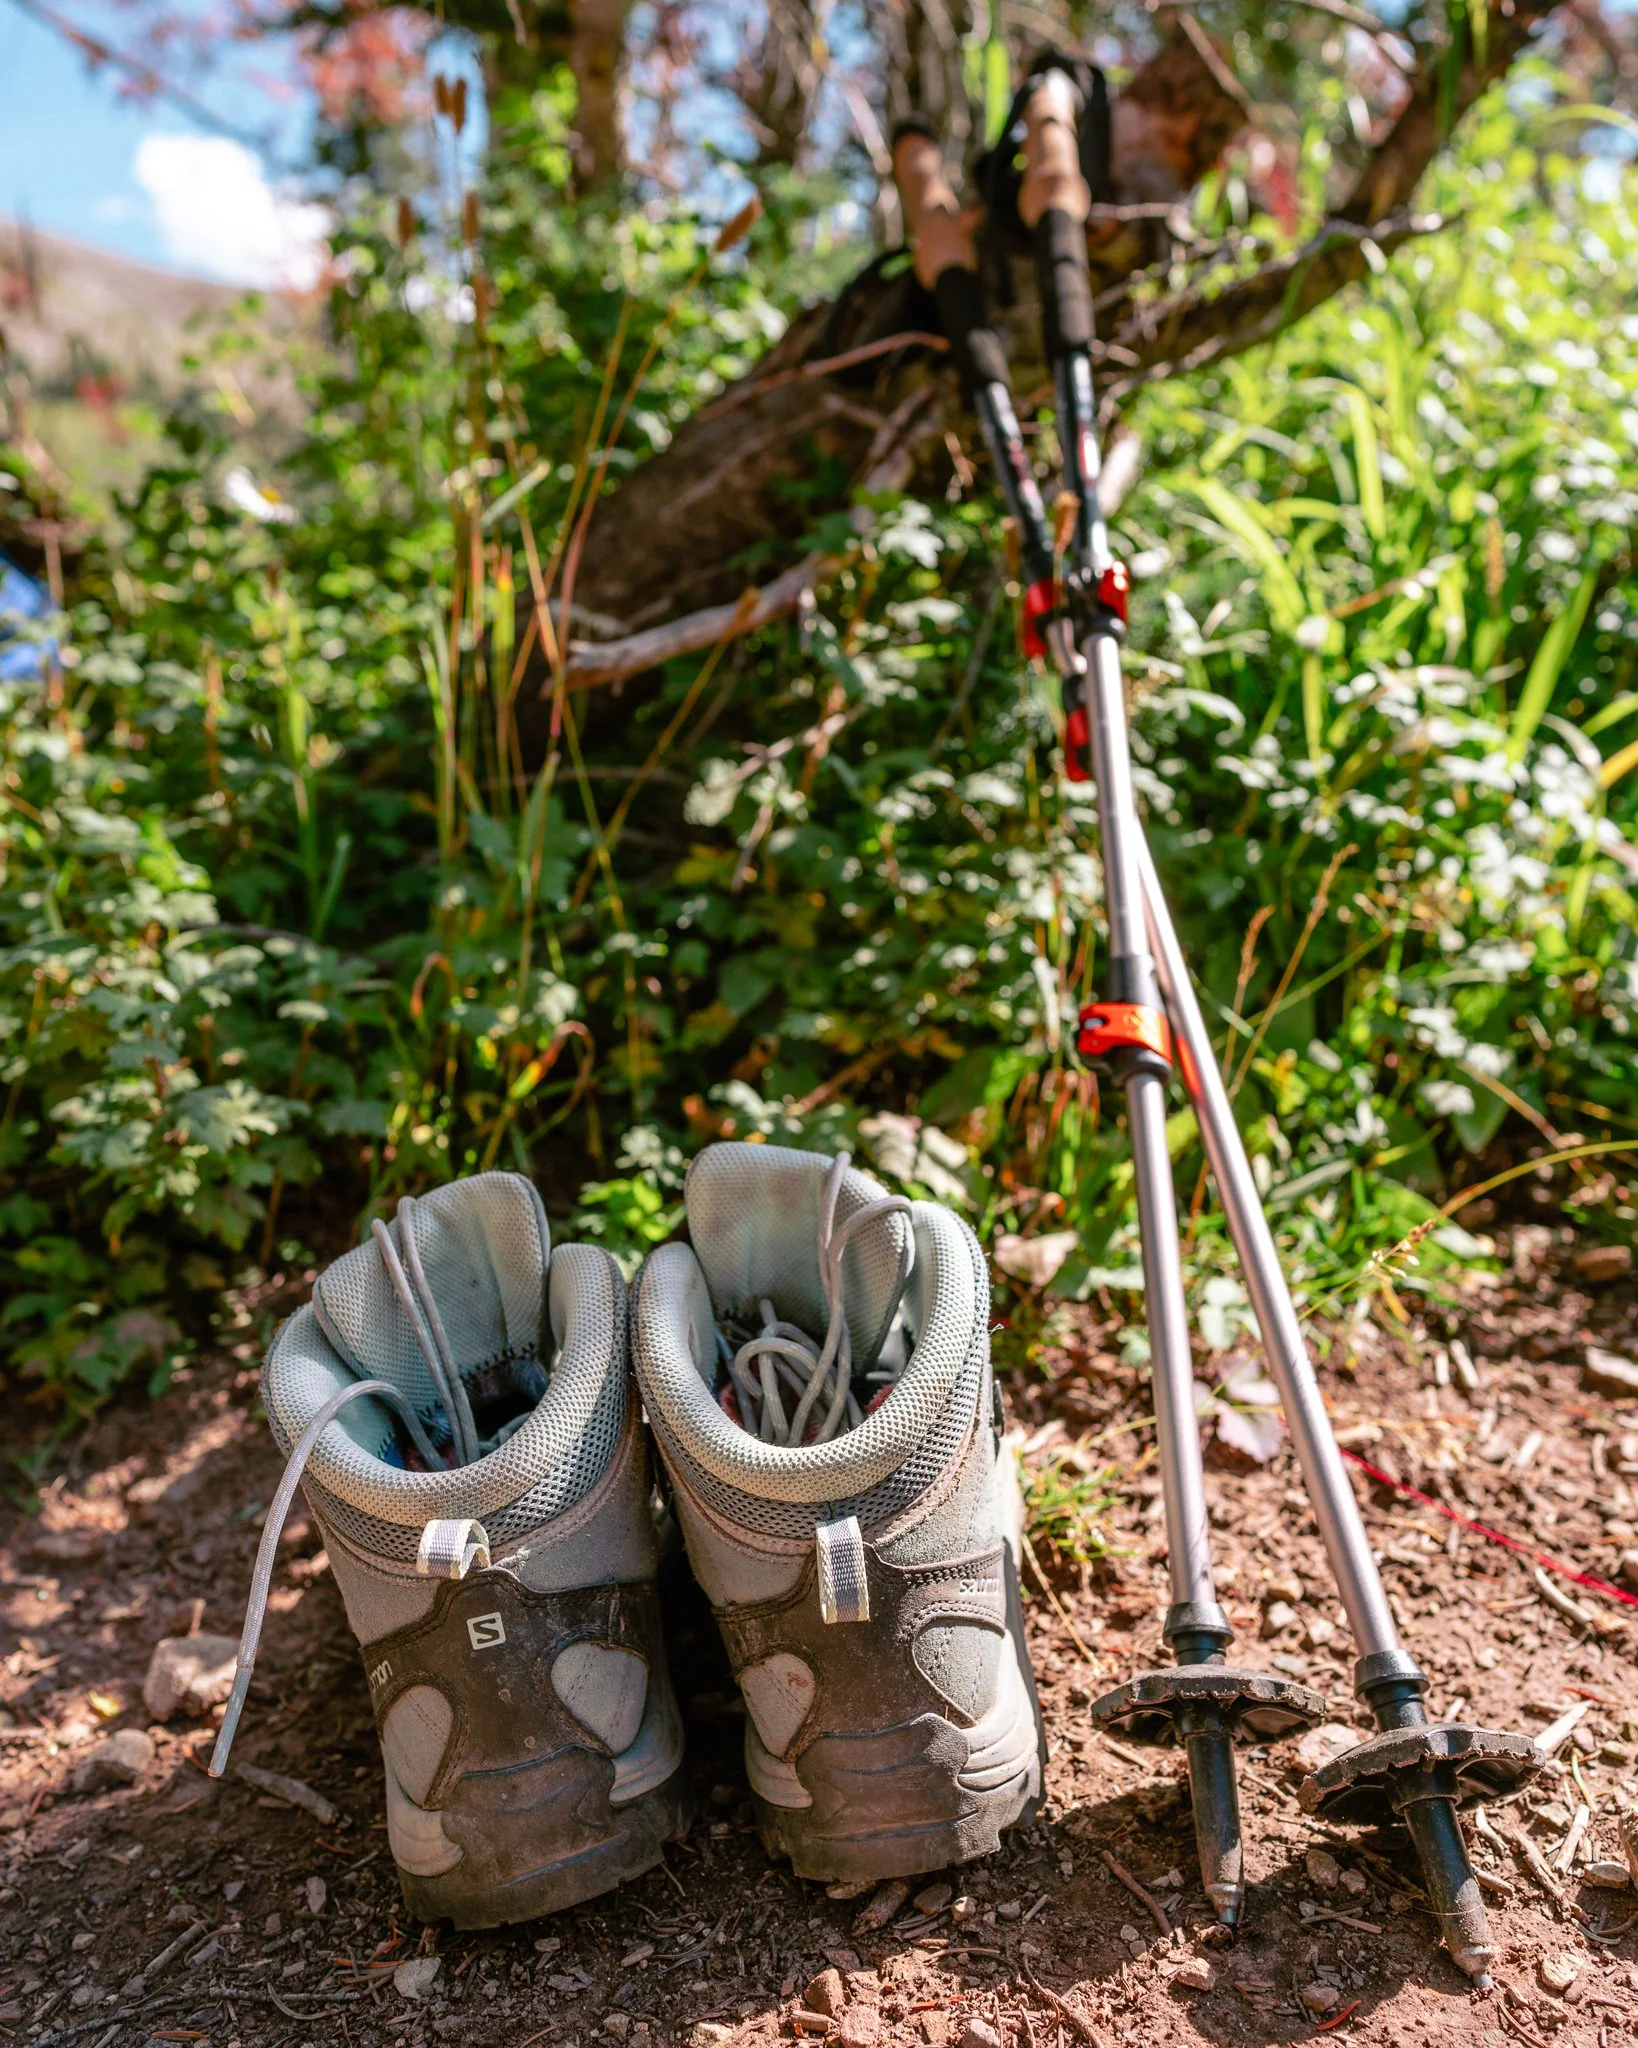
Trekking Poles — oof, these saved my knees on this hike! And the Osprey pack has little built-in loops to securely store your poles on the outside of your pack when not in use.
Water Filter — to replenish your water supply. There are multiple streams on this particular hike; we were lucky to have one right by our campsite. I did also bring a UV water purifier to test out, but ended up returning it because it’s expensive and not super necessary. One thing I didn’t have on this hike was the trusty Nalgene that makes it so easy to pour filtered water into or make water that you’ll later use for cooking, coffee/tea, etc.
First Aid Kit — you should never go off into the wild without a kit to help handle any basic injuries or aches and pains. I also supplement mine with things like sleeping aids, anti-nausea (in case of altitude sickness), anti-diarrheal medicine or TUMS in case camping food doesn’t agree with me or my hiking pals.
Bear Spray — full disclosure, I sleep with this by my side for an added sense of security!
Bear Canister — you’re required to bring this on any trails in this region, and the BearVault is tried and true. I had the 11.5L since it needed to fit my food but also my toiletries (more on those later).
Headlamp — for when you need to move about at night, especially to and from the hot springs.
Trowel — womp womp, you’re going to have to poop in the woods and either bury it or carry it out.
Camera Gear — I have learned the hard way that every bit of weight counts, so for this trip, I brought my usual camera body and just one, ONE lens: my Sony 24mm f/1.4 GM prime. I left my other lenses and tripod at home to keep my pack as light as possible, and also, drones aren’t allowed on this hike. I let my friend use my DJI Pocket 2 for filming video and snapping pics; it’s an excellent little lightweight gimbal camera that would likely suffice for longer trips. I knew this trip would be epic so for me, bringing my camera was essential.
Sleep
Ultralight Backpacking Tent — my fiancé and I purchased this tent for casual camping long before I started backpacking. Although it’s a 2-person tent, I find it to be quite perfect for one person especially if I want to keep my change of clothes, camera equipment and other extra things inside the tent. It’s also super easy and fast to set up.
Pillow — this lightweight, packable inflatable pillow from Sea to Summit works really well.
Mattress — a big fan of this insulated sleeping pad from Big Agnes that comes with an inflation sack to blow up the mattress without needing any other bells and whistles.
Sleeping Bag — if you’re backpacking this trail any time of the year, get a warm sleeping bag. I’ve slept in freezing cold temps with the Magma 15 and it has always done an amazing job keeping me cozy and warm. You do not want to hike 9 miles the next day on lack of sleep because you were freezing and uncomfortable!
Optional items include sleeping aids like ear plugs so that you’re not listening to every noise outside of your tent like I do…ha…ha…
Cooking
Jetboil Flash Cooking System — I love this thing. It’s so compact and boils 1L of water within about 3 minutes. It also ignites by itself so no need to bring a lighter.
Jetpower Fuel — fuel for the Jetboil. It fits inside the cooking system so you save on space!
Spork — something really simple and light.
Food
Mountain House Chicken and Dumplings — lunch at the halfway point on the hike up.
Soup from Proper Good — dinner.
Backpacker's Pantry Granola with Milk and Organic Blueberries — breakfast the next morning.
Alpine Start Instant Coffee — also breakfast, and I love that this kind comes with creamer.
Oberto Beef Jerky — my absolute favorite hiking snack.
Other snacks included things like dried mangoes, nuts, chocolate, and tangerines. Always bring more snacks than you think you’ll need since you are burning a lot of calories, and remember that salt and sugar are your friends on a hike like this.
Toiletries
Okay, I have to confess. While I can totally rough it in the wild, I can’t skip my skincare routine. I have always been really diligent about it and I can’t leave that or my personal hygiene behind even if I am camping or backpacking. For me, it’s worth the extra weight and the slightly larger bear canister. Yes, I did go off into the woods where my canister was hidden under a log to balance a little mirror on a tree stump and accomplished said routine, and I did this in the evening and first thing in the morning.
Here is what I brought on this trip, note that all items were travel or mini, Sephora/Ulta sample sizes:
Contact solution and contact case
Eye drops
Deodorant
Sunscreen
Unscented makeup remover face wipes
Unscented baby wipes for body
Unscented body lotion
Nighttime moisturizer
Daytime tinted moisturizer with SPF
Anti-aging or hydrating serum
Eye cream
Chapstick
Clothes
This will of course depend on the season, so just note that our trip took place in late August. Adjust as needed if you’re doing this hike in the winter.
Two bathing suits
Two sets of socks
Two pairs of underwear
Two pairs of leggings, one for hiking and one for layering at night or changing into the next day if needed
Long sleeved shirt
Fleece
Puffy coat
Raincoat regardless of the forecast, it rained a lot on our hike back and I would have perished without it
Sports bra
Tank top
Sandals for the multiple water crossings
Hiking boots
In the future, I’d also recommend bringing loose warm clothing that’s quick and easy to change into after an evening soaking in the hot springs. Like I said, nights get cold and you’ll want to be bundled up as quickly as possible!
After any backpacking trip, take note of what you used or didn’t use, and adjust your pack in the future. Every bit of weight counts when you’re lugging everything on your back for 9 miles up! And while I didn’t end up needing the bear spray, I definitely felt more at ease with it by my side in the tent at night!
What’s it like to hike with all that gear?

As you can imagine, when it’s all packed up, all of the aforementioned gear really adds up in terms of weight. No matter how fancy your pack is, it’s not going to feel all that light and easy. Taking your pack off and putting it back on is a pain because you need to reset your straps based on the readjusted weight inside your pack every single time. My collarbone was bruised and sore for days after this trip.
Backpacking, especially in gorgeous places like Colorado, is hugely romanticized on social media. In reality, it’s both a mental and physical challenge. There were moments where I felt overcome by complete awe at the natural landscape around me, but then a pinch in my knees and shoulders would jolt me into the acute awareness that I've been hiking with a pack for 6 miles on very little sleep, with 2 miles of incline to go. You get tired, your pack will be heavy, you'll get wet or cold or hot and there is no bathroom. When you're out there, the only way home is through.
But here is the most fascinating thing. Backpacking teaches you to sit with discomfort. To learn that it's always temporary. No matter how tired you are, you remind yourself to look up and realize how lucky you are to have this opportunity — to be in the wilderness among the wildflowers, aspens, mountains. As cliché as it may sound, you learn to enjoy the journey — not necessarily just the destination.
Unforgettable beauty of the mountains

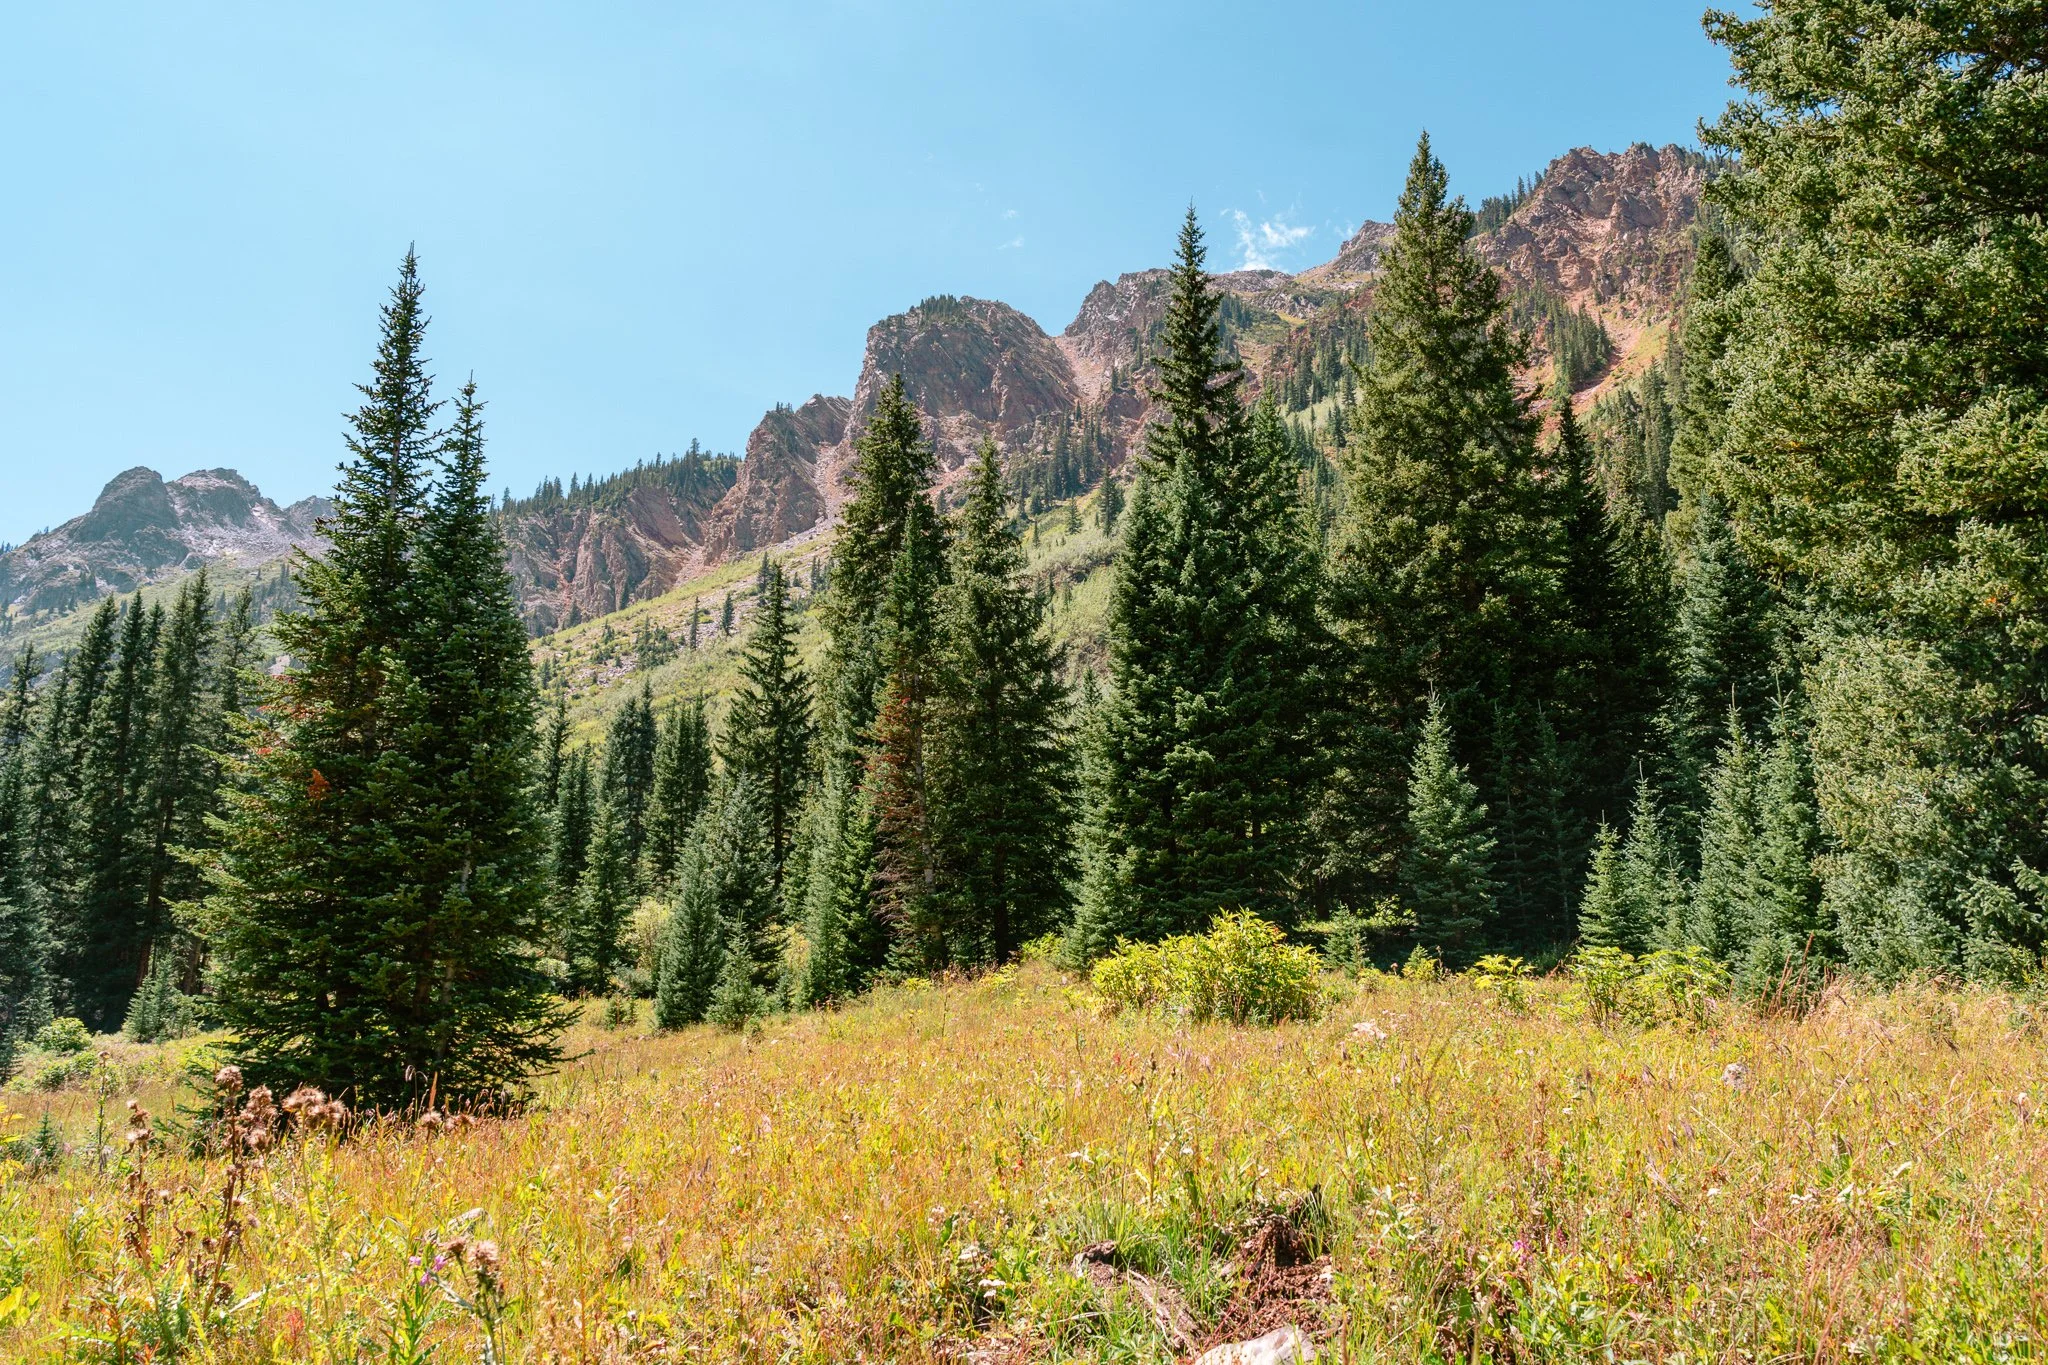

While many moments throughout this hike pushed our limits, they were easily outnumbered by those moments that made us feel strong and lucky to be alive. We passed friendly strangers who seem equally content enjoying the simply pleasures of the outdoors, and then later, spent the night watching shooting stars and telling stories while soaking our sore muscles in the relaxing natural hot springs.
If you’re considering taking a trip to Conundrum Hot Springs, permit and season information is available on recreation.gov. And most importantly, remember to always practice Leave No Trace so that we can all enjoy this wild, natural beauty for many years to come.
If you found this post helpful, consider joining the adventure on my Instagram or commenting below with any questions. Have you ever gone backpacking?!